Rooting for You: Transplanting Seedlings
- megan13hudson
- Mar 18, 2025
- 3 min read
Transplanting seedlings can feel like a daunting task! I’m here to guide you through the seedling scene with a lighthearted approach and some essential tips to help you keep your plant babies thriving.

When it comes to seed starter cells, the choices can be overwhelming. But here’s my top tip: I swear by cardboard egg cartons!
Using these small cells offers multiple benefits. First off, space-saving is essential. You can start a ton more seeds in a much smaller area. Just imagine how easy it is to keep track of your little green friends when they’re all snuggled up in their own compartments!

Secondly, let’s talk about root growth. Smaller cells mean less soil, which gives you better control over moisture. Keeping the soil damp but not waterlogged is crucial. Over-watering while your tiny seedlings are transforming their baby leaves into full-fledged adults can lead to seed rot and root rot—and nobody wants their plants on garden ‘death row’ due to a little enthusiasm with the watering can.
These miniature containers also encourage roots to develop a robust system, which is fantastic for future transplants. A stronger root system leads to healthier plants and a higher chance of a bountiful harvest. More veggies? Yes, please!
Now we arrive at the moment of truth: transplanting! Some seedlings can be a bit dramatic, while others are more chill. The beauty of transplanting with cardboard egg cartons is that it’s easy to skip the dreaded root disturbance. You can simply plop the entire cell—including the cardboard—into a new pot. Less stress, less mess!
If you’re tempted to use plastic cells instead, just be gentle. Be especially cautious with those diva plants, like cucumbers, beans, peas, and root veggies, that simply can’t handle a rough move. Disturbing them too much can lead to stunted growth and transplant shock.
A good rule of thumb is to wait until your plants have developed their second true leaves and are about 2-3 inches tall. Don’t let them linger in those snug starter cells for too long, or you'll risk root binding. Root-bound plants can’t absorb water and nutrients properly, which can lead to tragic stunted growth.
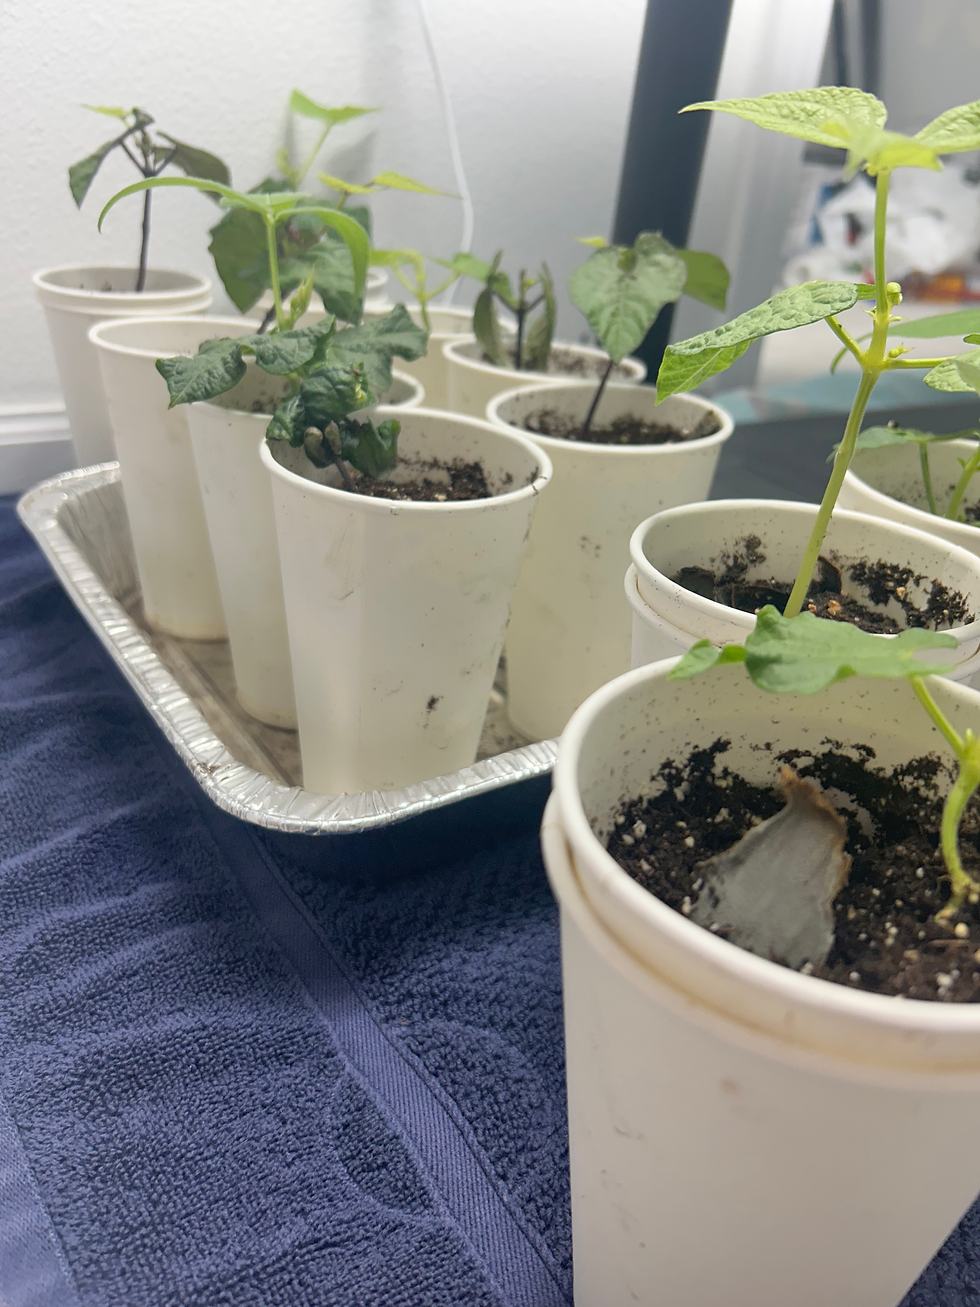
When it’s showtime for transplanting, I recommend using paper or cardboard coffee cups as your new pots. Just poke a few holes in the bottom for water, then fill the bottom of the cup with some soil. Place your seedling in, and fill the remaining space with soil, making sure to cover the roots all the way to the base of the plant. (little tip: tomatoes like to be covered you can cover them with dirt a little past the base) After filling the cup, give your new addition a little misting session to encourage those roots to branch out!

Be sure to bottom water your seedlings right away to minimize transplant shock. And don’t forget to adjust your lighting! Position the lights about 2-3 inches above your plants. If they start looking leggy and reaching for the sky, simply lower the lights.
This new cozy environment is their forever home—until it’s time to harden them off and introduce them to the great outdoors, of course!
Transplanting doesn’t have to be a stressful experience. With a bit of knowledge, you can nurture your seedlings into thriving plants that will hopefully reward you with an impressive harvest! Transplant with confidence, and remember to keep smiling—even if a few plants decide to channel their inner diva along the way.
Happy gardening!


Comments